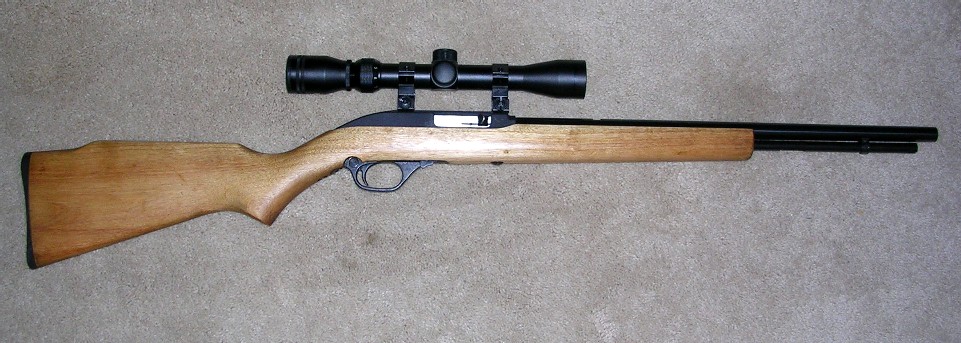
This particular Marlin did not have any checkering on it.

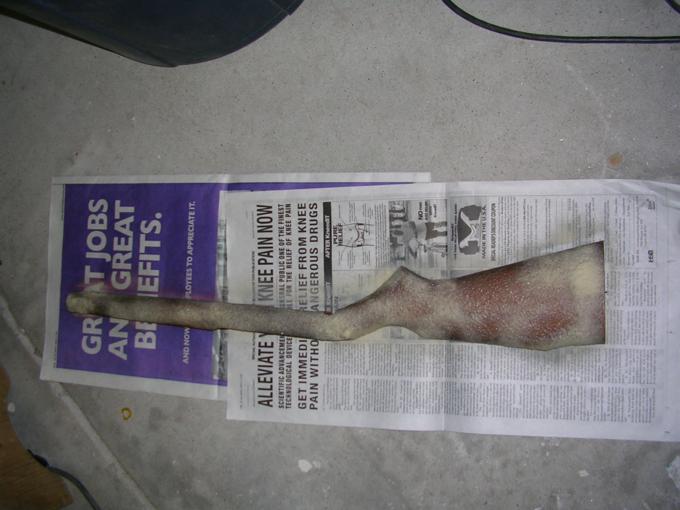
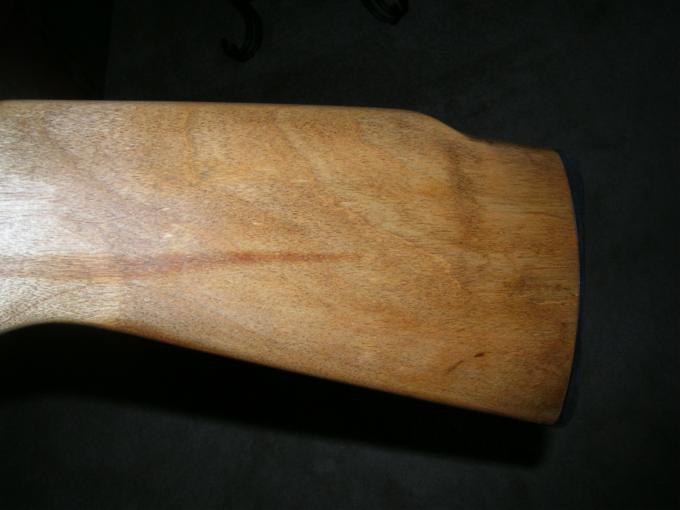
That yours does should not be a problem though. I use a spray on paint stripper to remove the finish. They are available at most hardware or home improvement stores. Spray it on and let it sit for awhile. Then use a putty knife to remove most of it. Follow that with coarse steel wool. For the checkered areas, use the steel wool very lightly followed by on old tooth brush. Alternately, use just the brush. The stripper will probably destroy the brush, but it should hold up long enough. One of those brass bristle brush might work, but you would need to be more careful with it as not to damage the checkering. That last bit of scrubbing with the steel wool on the stock goes easier by spraying some stripper and scrubbing right away. Wipe off any remaining stripper and clean with a damp rag. I actually use a pretty wet one. Then sand out any imperfection. Dents can be steamed out with an clothes iron and wet cloth (make sure all finish is removed from the dent first). Once you are satisfied with the stock stain it if you like and apply your finish of choice. I just used tung oil on mine.
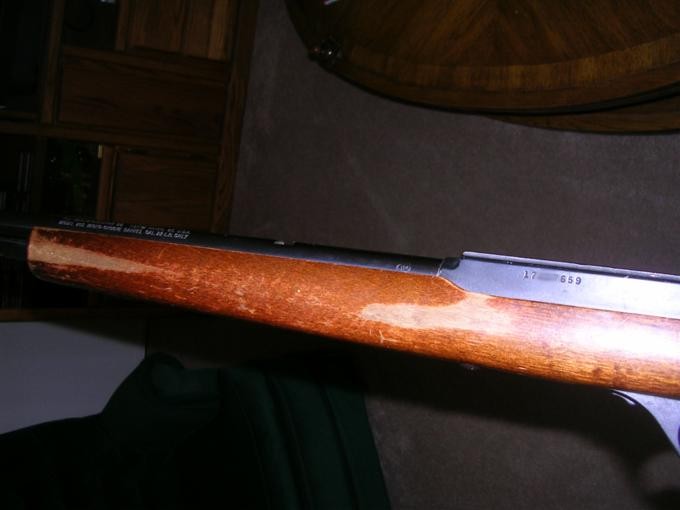
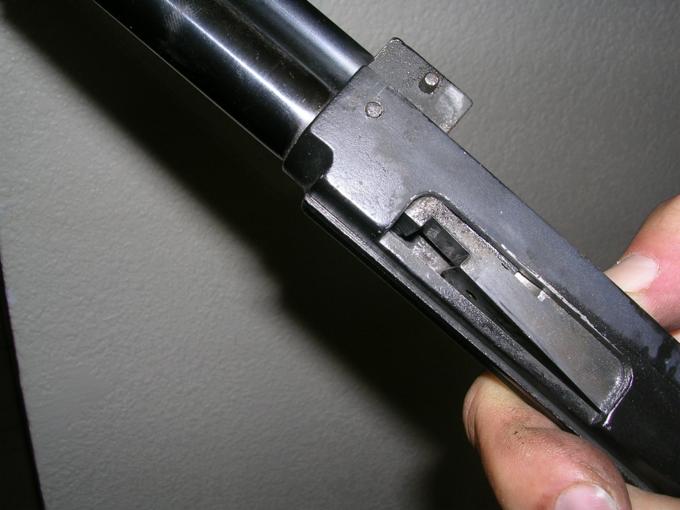
As to the metal parts; First disassemble the rifle ( here is a link to an excellent page on the disassemly of a Marlin Model 60; the 75 is pretty much identical to it: http://www.survivalprimer.com/PaulsGuns/22lr_marlin_model_60_22_cal.htm and a Model 60 parts list/diagram: http://www.survivalprimer.com/Model_60_Parts.pdf ).
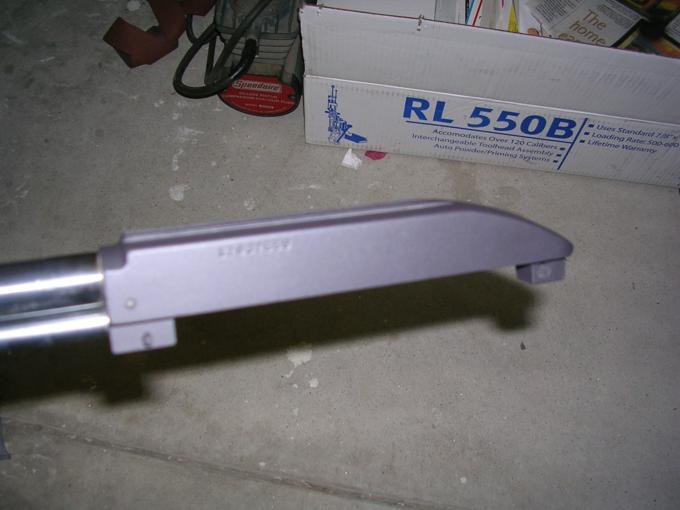
I then cleaned everything and de-greased it. I used touch up blue for any worn spots on the on the barrel. I really like the Oxpho Blue from Brownells. Just follow the directions and they also have some excellent tips on their website: http://www.brownells.com/aspx/NS/Store/ProductDetail.aspx?p=1072


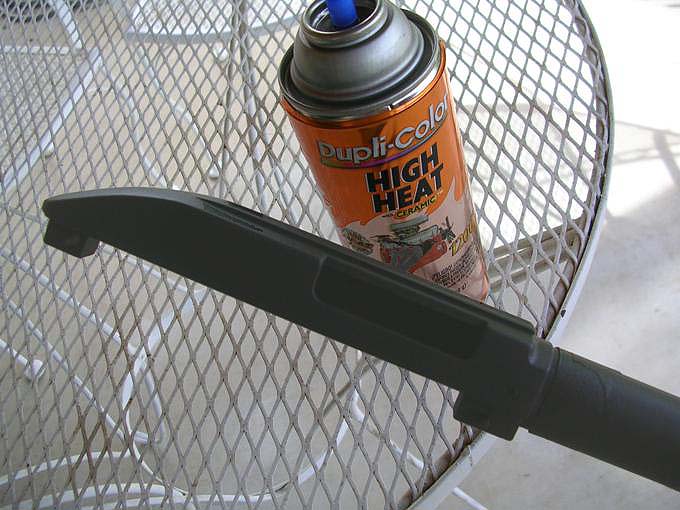
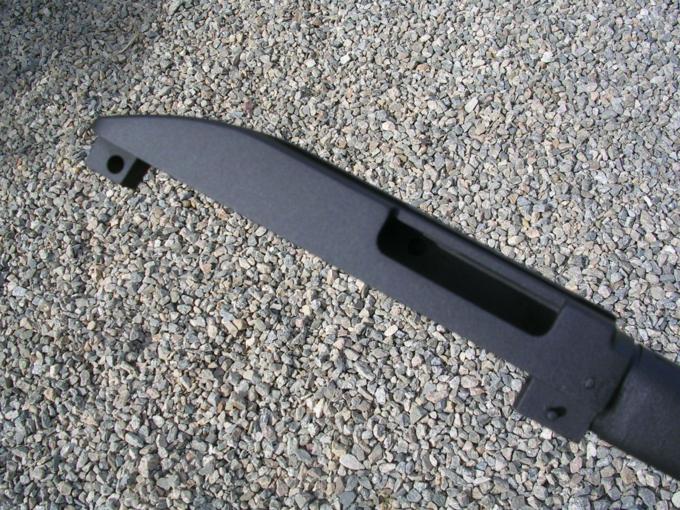
For the receiver, I degreased it completely and taped off the barrel. Then I applied the Dupli-Color as per the directions. Tip here: warm the part a little with a hair dryer; it flash dries the finish some when you apply it. Let is sit for a while so that all the solvent can escape. Then pop it in the oven. There is some odor, but I've had no lasting effects to my oven ( I baked several different firearms in it). After it cools, you are ready for assembly. I found this rifle prefers grease for the action rails and such.
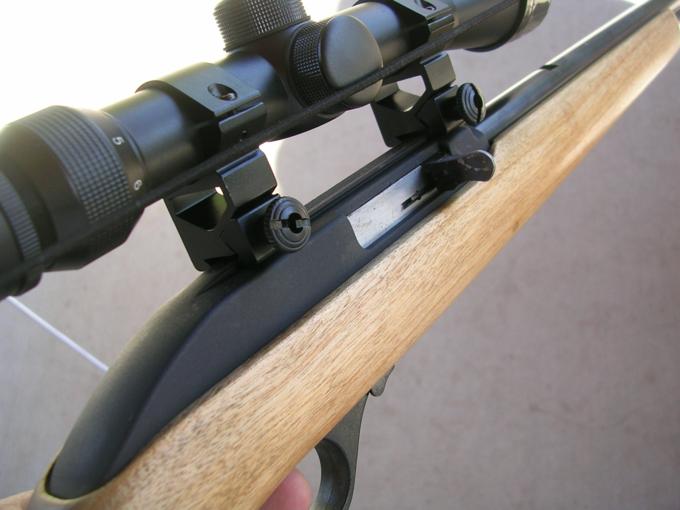
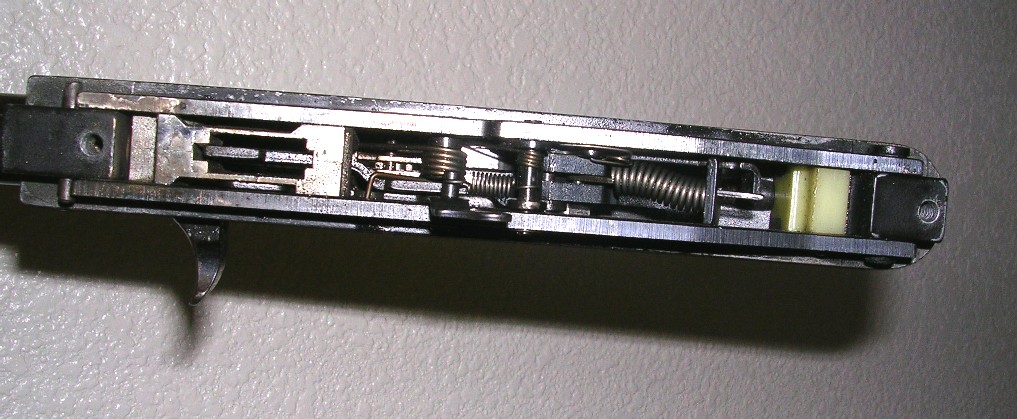
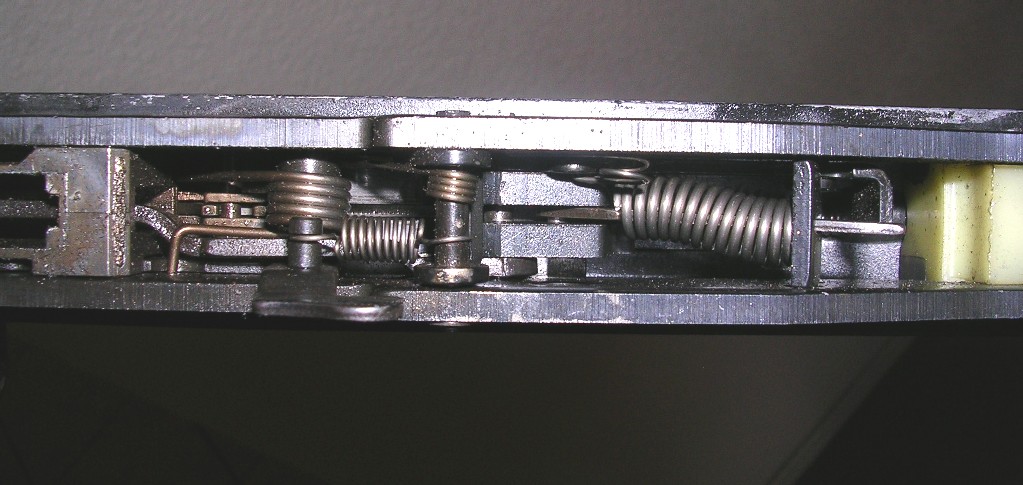
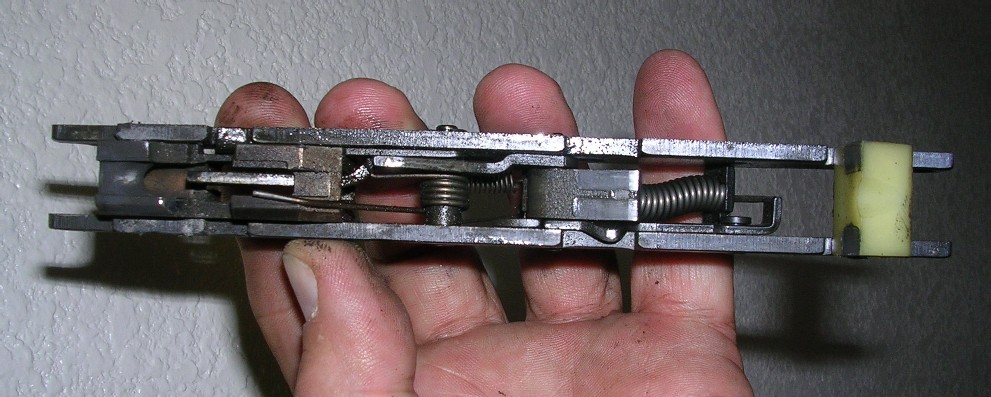
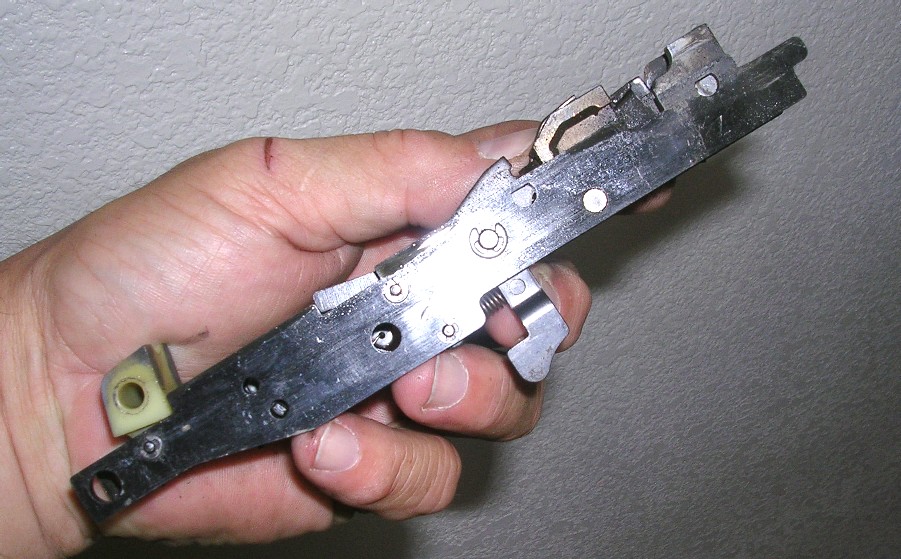
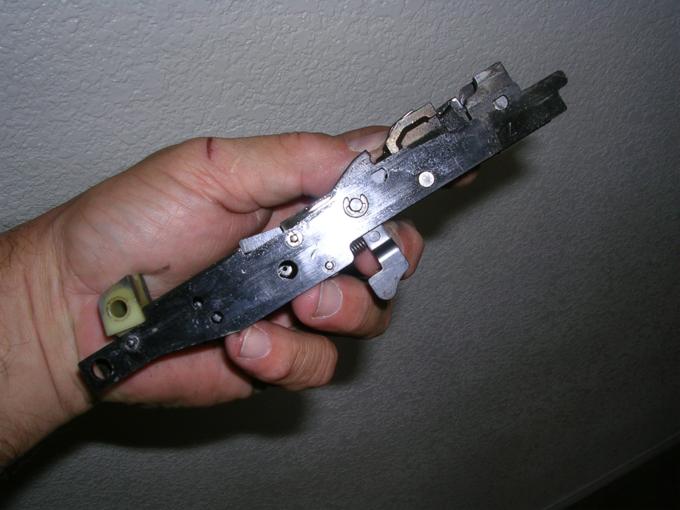
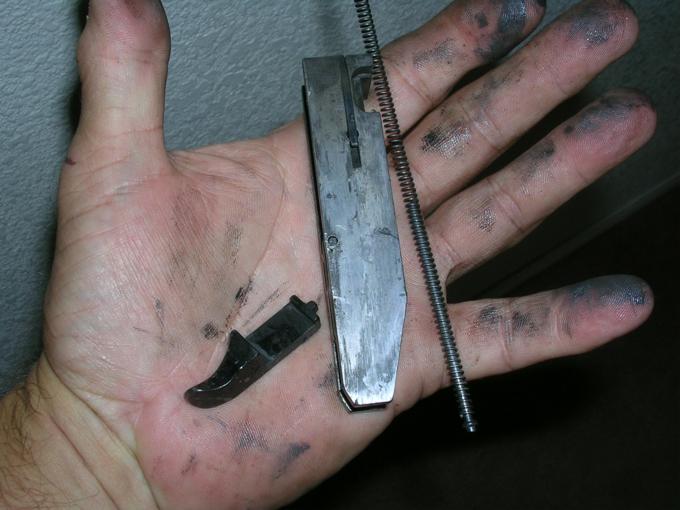
Larger photos of trigger group: